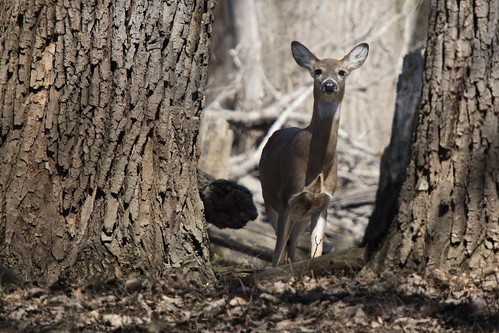
I took this photo in the middle of the afternoon in harsh sunlight so getting the exposure right was difficult. I tried several different exposures using exposure compensation and watching the histogram, but because much of the deer was in shadow compared to the full sunlight that the foreground was getting, I had to choose to expose for the deer and let the rest get a bit blown out. According to the histogram I was getting all the data, so I knew I could fix it in software later.
So, how did I fix it? Well, this is a first for me, but I made a video showing how I did it. I meant to upload it to Flickr to try out their new video upload capability, but it's over 90 seconds, so it went on YouTube instead:
...this was my first video ever and in retrospect I should have said what menus I was using as I clicked on them. Perhaps I'll get better at it over time.
Lasso Select tool: In toolbox window
Invert Selection: Under "Select" menu
Curves Tool: Under "Tools" menu > "Color Tools"
1 comment:
Great explanation, Erica. I've never used curves before and this helped me understand that feature. (Not only new to photography, but I'm also new to using software to "Fix" or "Correct" my photographs. So I'm learning a lot from you as well as the group!)
Keep the video tutorials coming, you did a great job!!!
Post a Comment